
Hi everyone, it’s Monique again, and today I’m going to walk you through how to explore and update an event that you’ve already sent out. This includes viewing data, checking who has checked in, viewing their information, and being able to edit the event and more.
Viewing and Editing an Event
1. Accessing Your Event:
– After creating an event, you can view any upcoming events you have sent out.
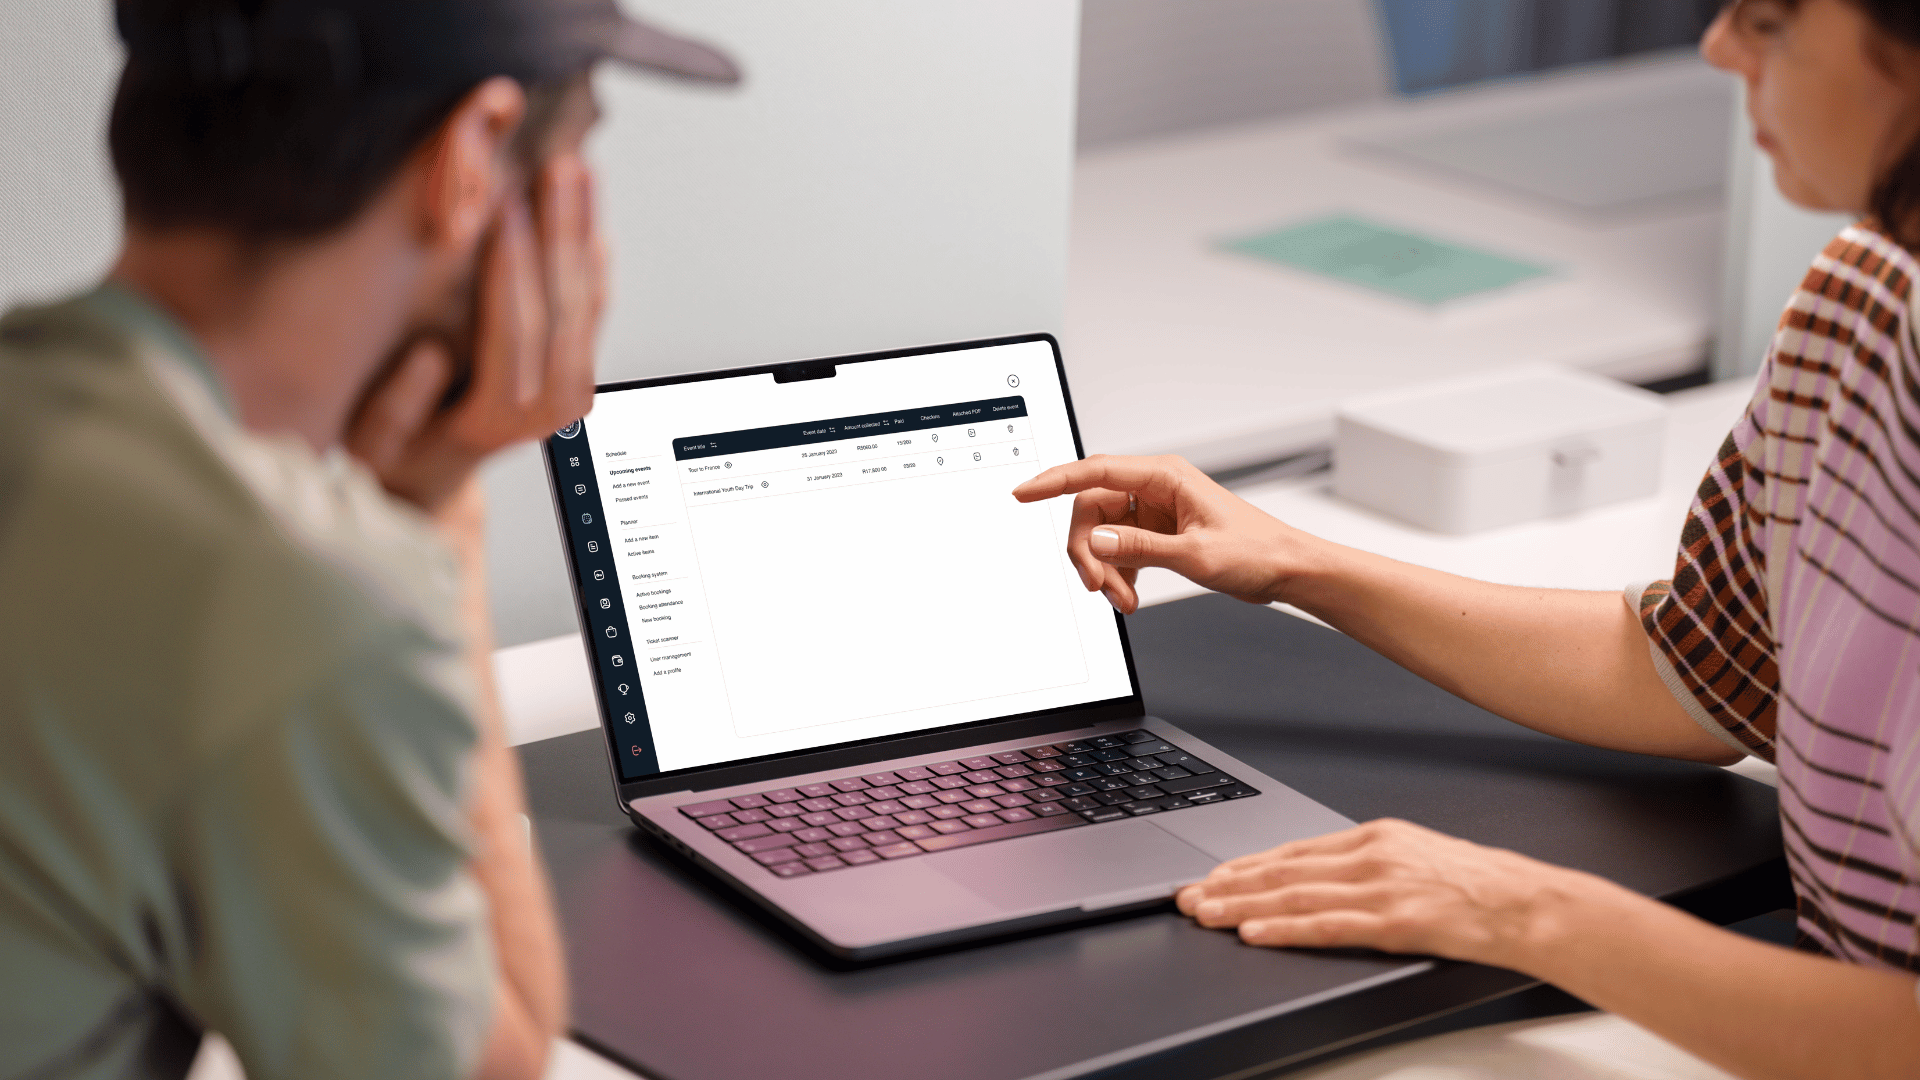
– Navigate to your events list; you’ll see a screen showing all your scheduled events. For example, we have an event called “Team Building 2.”
2. Event Details:
– Event Dates and Ticket Price: You can see the event date and ticket price. If the ticket price is zero, it means the event was free. Otherwise, the amount collected per ticket will be displayed.
– Amount Collected: This shows the total money collected from ticket sales. For instance, if the ticket price was $20 and you sold two tickets, the total would be $40.
– Amount Registered: This shows how many people the invite was sent to versus how many registered.
– Check-Ins: On the event day, you can use the ticket scanner option to check in attendees via QR code. This will update to show how many people attended versus how many tickets were purchased.
3. Event Attachments:
– If you included a PDF for the event, you’ll see an “Attach PDF” button to view the attached document. If not, this space will remain blank.
4. Editing Event Details:
– Certain fields, like the recipient group and event organiser, are locked and cannot be edited.
– Start Date and Time: These can be edited if necessary.
– Ticket Price: The ticket price is locked for security reasons, so you cannot change it after the event is created. If you need a different price, create a new event with the updated details.
– Event Description: Click the edit button to update the event description.
– Location: You can change the event location or switch it to a virtual meeting.
5. Closing or Deleting an Event:
– Closing an Event: If you want to stop accepting new attendees but keep the data, you can close the event.
– Deleting an Event: Deleting will remove all event data and information permanently.
6. Updating the Event:
– After making your changes, click “Update Event” to save them immediately within the application and portal.
7. Viewing and Downloading Event Data:
– You can view who has purchased tickets, their contact information, and details if they purchased tickets on behalf of someone else.
– Download the event data as a CSV file for further analysis or to share with team members.
Updating an event is straightforward with these steps. You can manage attendee information, make necessary adjustments, and ensure everything runs smoothly. If you have any questions, please drop a comment below. If you found this guide helpful, give it a thumbs up, and if not, feel free to provide feedback for improvement. Happy event planning!